How to Make an Easy Ribbon Fascinator
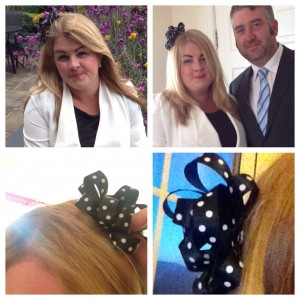
I bought a roll of polka dot ribbon to go with an outfit for a wedding because I planned to have my hair half up with the ribbon in a bow at the back and it matched my shoes and nails.
After trying to get the hair right all week, I admitted defeat but I knew there was something missing from my outfit.
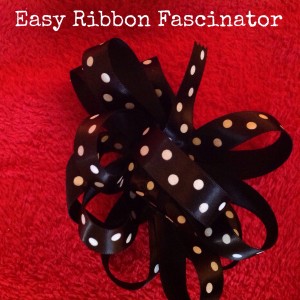
So I took matters into my own hands. This is how I made my ribbon, fascinator.
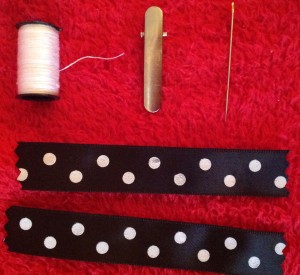
You will need:
Ribbon in a colour and pattern of your choice cut into equal lengths. Note the longer the length, the larger the loop. Mine were 14 centimetres.
Needle and cotton
A stapler
A hair grip
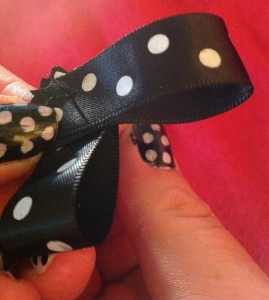
Thread your needle and loop over your first piece of ribbon.
Pass the thread through the cut end f the ribbon no them thread on the next piece. Repeat until all your loops are on that one piece of cotton.
Arrange into a pattern you like and then keep threading the cotton through the centre of the fascinator.
If you are good at needle craft or have a lot of time, you can keep stitching over that one spot until the ribbons are secure. As it was, I was making dinner and had to put the children to bed so, I turned to the stapler and honestly? It did the job perfectly.
Then get a shorter length of ribbon- half the length of your loop (so mine was 7cm) and staple it over the middle of the design.
Attach your hair clip and you are all set.
It took me around 10 minutes to make and I am really pleased with the result.


Had been looking for something like this for ages and this was perfect. Couldn’t work out how to do it but was sure there must be an easy way… You described it well and it was! Fascinator made. Thank you! X